



The installation of the ESXi Hypervisor is very simple and straightforward. Ideally you would like to install the ESXi on supported Hardware for obvious compatibility reasons. In our case the Intel NUC is not listed as a compatible one but the its components definitely are making this system a desirable Host. Also it is possible to either customise the standard ISO by injecting additional drivers or install these one at a later stage. For example this will be the approach I will be using when installing additional physical NICs by mean of USB Network Adapters.
The installation takes just a few minutes and is wizard based

Let’s select the intended drive for the deployment

and the correct keyboard layout

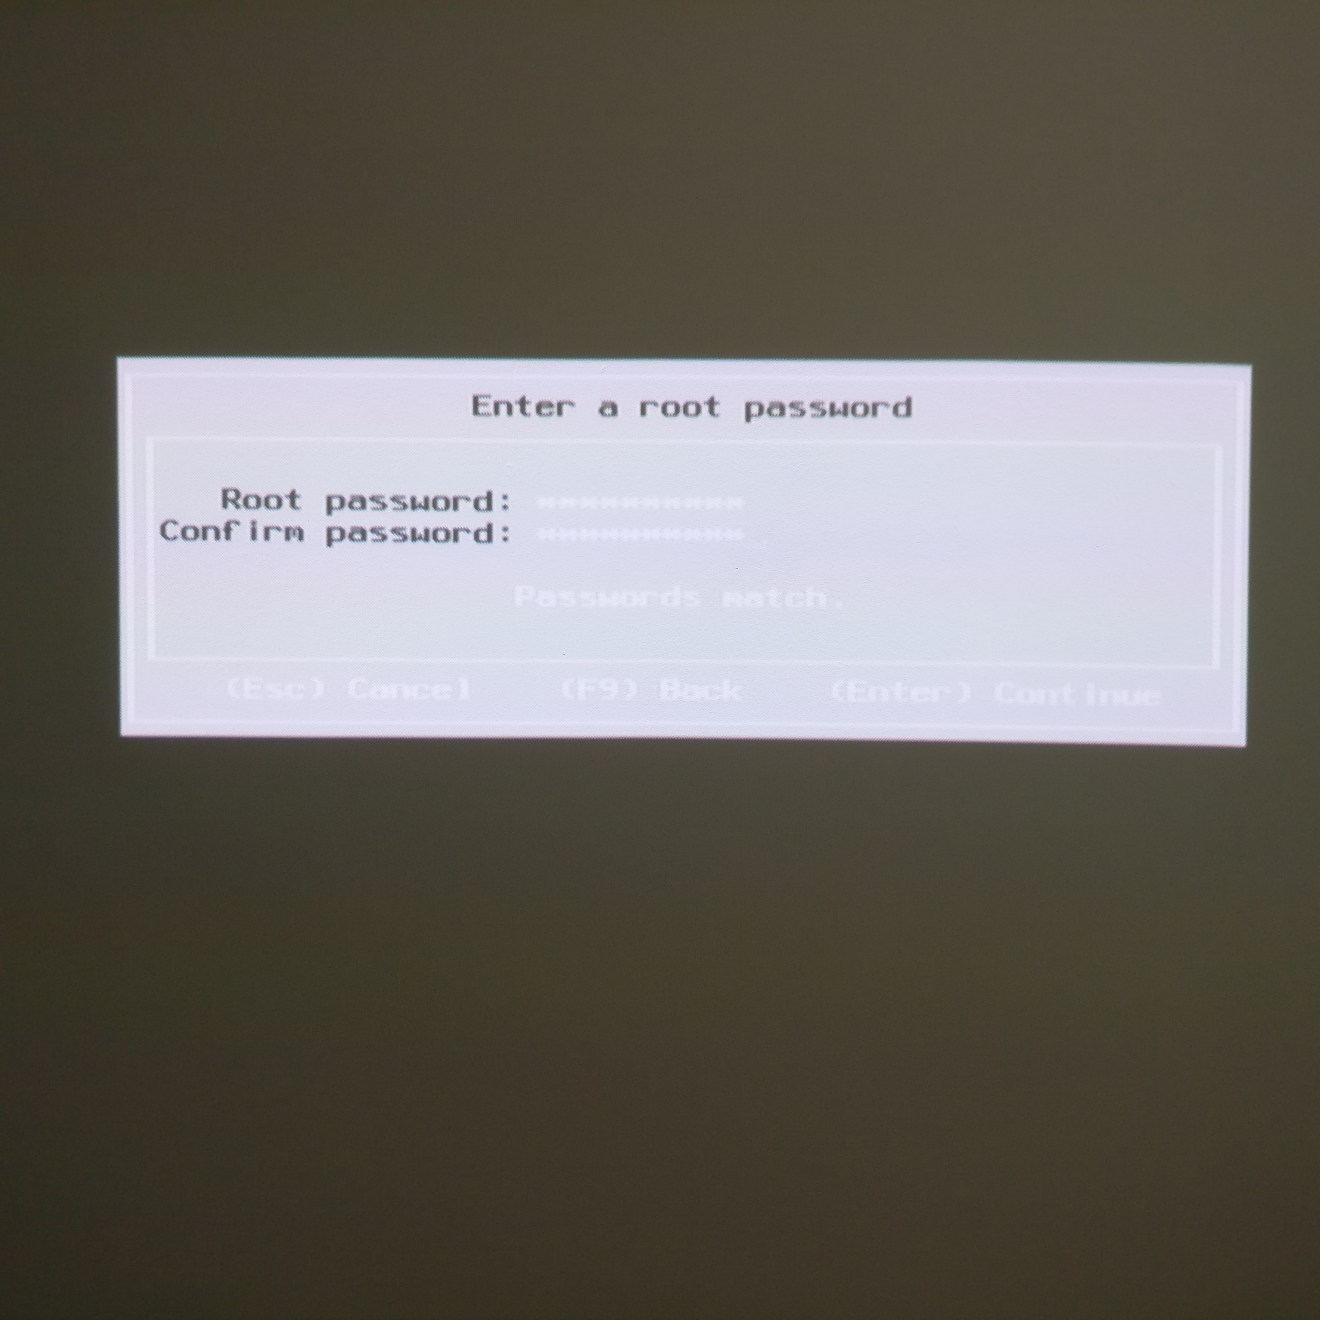
and now the password for the root account. This of course can be changed later on as well
and a final confirmation before committing

As per screenshot below the installation progress is very quick

excellent and relieving message! Let’s remove the USB drive and reboot the ESXi Host

And we are now ready to get to the last part of this article series for the ESXi install first steps


Add Comment